


Before we dive into the thick of things, let's first understand what onboarding is.
It's the process of integrating new clients into your business and ensuring they have the necessary tools and information to become successful customers. Sounds simple, right? Well, not quite. It involves various tasks that can be overwhelming if not well-structured.
This is where a customer onboarding checklist comes in handy. With a well-defined process, you can seamlessly welcome clients and let them know they've made the right choice.
Let's walk through a comprehensive six-step customer onboarding checklist to help you provide an efficient and exceptional client experience.
1. Deliver a warm welcome
First impressions matter. When a client decides to do business with you, how you welcome them sets the tone for the entire relationship.
Start with welcome documents
Prepare a welcome kit to introduce your clients to your company and the services you offer. This kit can include an overview of your company, key personnel, how you operate, and frequently asked questions.
Include an intake form
Alongside the welcome documents, send your clients an intake form to collect essential information about them.
2. Get your legalities squared away
It's crucial to be legally compliant to avoid future disputes.
Have a standard agreement and NDA
Make sure you have a standard agreement and a Non-Disclosure Agreement (NDA) that outlines the terms and conditions of your working relationship. If the client has their own agreements, review and sign them as required.
Automate your contracts
Contract management can be a tedious process. Save time by automating your contracts using eSignature apps. Apps like DocuSign and help you manage the signature process, send reminders, and store contracts securely.
3. Gear up for payments
Having a well-defined payment process ensures you get paid on time and avoids misunderstandings with your clients.
Set up your accounting or invoice software
If you have your own accounting or invoice software like QuickBooks or FreshBooks, set it up according to your client's payment preferences.
Ensure tax compliance
If required, send out tax forms such as the W-9 form for tax compliance. Also, have a central system to log and track rates agreed upon with clients.
Connect your payment processor to your accounting app
To avoid manual tracking and human error, connect your payment processor to your accounting app. This ensures automatic tracking of income and seamless reporting.
4. Establish clear communication channels
Effective communication is key in any business relationship. It's important to decide on the mode and frequency of communication right from the start.
Decide on a communication channel
Whether it's email, phone, Slack, or Microsoft Teams, choose a communication channel that's preferred by both you and your client.
Organize your communication
Create a unique label or folder for your client in your inbox or chat app to stay organized. Schedule a kickoff call to discuss the project details if necessary.
5. Develop your project plan
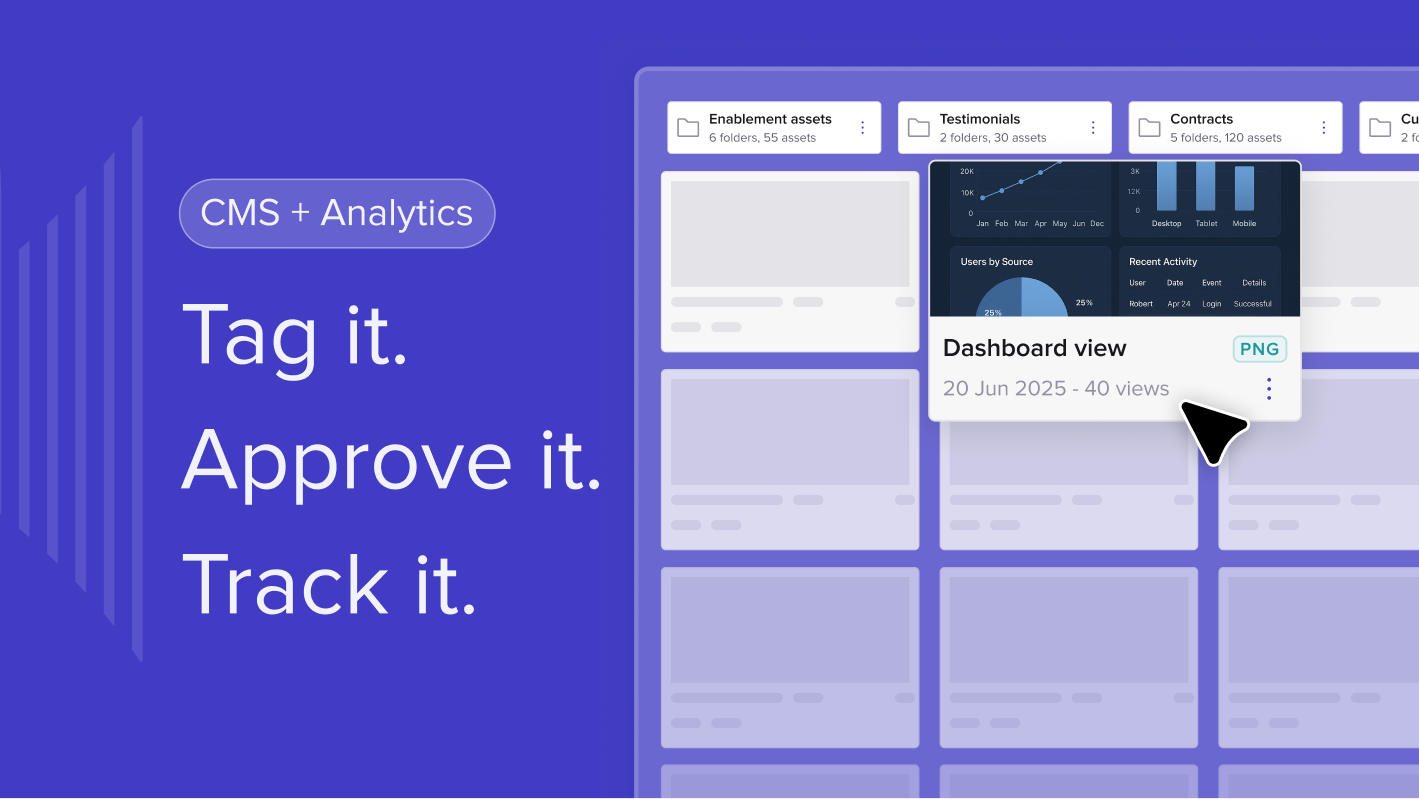
At this stage, you're almost done with onboarding your client. Now, you need to set up a working system. To make life simpler, you can create a dedicated workspace for your client with trumpet.
By creating a microsite (or Pod) in trumpet you can track your buyer’s onboarding journey, create and assign tasks, and establish workspaces for your clients with smart integrations like Google Workspace and Notion, all within a single link.
Create a workspace for your client
This could be a Google Drive folder, a Notion page, or a Trello board. Make sure it's a space where you can manage and track your project efficiently.
Track and assign tasks
Have a system in place to assign specific tasks and add due dates. This helps in keeping your project on track and ensures timely delivery.
6. Share your work
Once you've completed your work, it's time to share it with the client.
Decide on a file sharing system
You can either have a separate workspace where client-ready files are stored or provide access to files within the project workspace.
Automate your file management
Automate notifications to alert your client whenever a new file is added. This ensures your client is always updated on the project's progress.


![How to Get Started with Buyer Enablement [With Examples]](https://cdn.prod.website-files.com/65cf4fecbed2754c2236665d/65cf4fecbed2754c22366bdb_65a5af83e742f76e34ce06f3_Customer%2520Onboarding%2520_%2520Everything%2520you%2520need%2520(2).png)
.png)


.png)


.png)


.png)


.png)

.png)
.png)


